
Last updated September 30, 2026
Want to propagate a snake plant? One plant can become five, or fifty, with nothing more than a clean knife and some patience. There are four good ways to do it. Two are fast and nearly foolproof; two are slow but let you make lots of plants from a single leaf. Here’s how each one works, and which to pick.
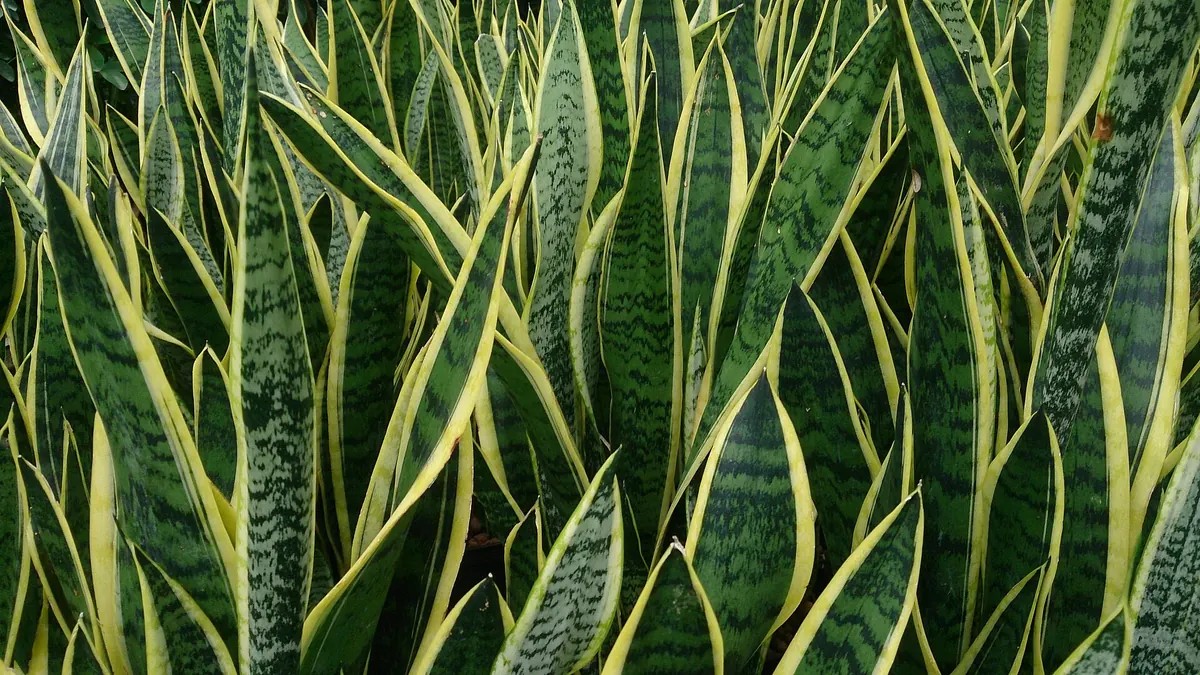
Which method should you use?
| Method | How fast | Success rate | Keeps yellow edges? | Best for |
|---|---|---|---|---|
| Division | Instant | Very high | Yes | Big, crowded plants |
| Rhizome cuttings | Weeks | High | Yes | Plants with runners at the edge of the pot |
| Leaf cuttings in water | Roots in 4–8 weeks; pups in months | Good | No | Watching roots grow |
| Leaf cuttings in soil | Roots in 4–8 weeks; pups in months | Good | No | Lots of plants from one leaf |
Best time: spring or early summer, when the plant is actively growing. Cuttings taken in winter still work but take much longer.
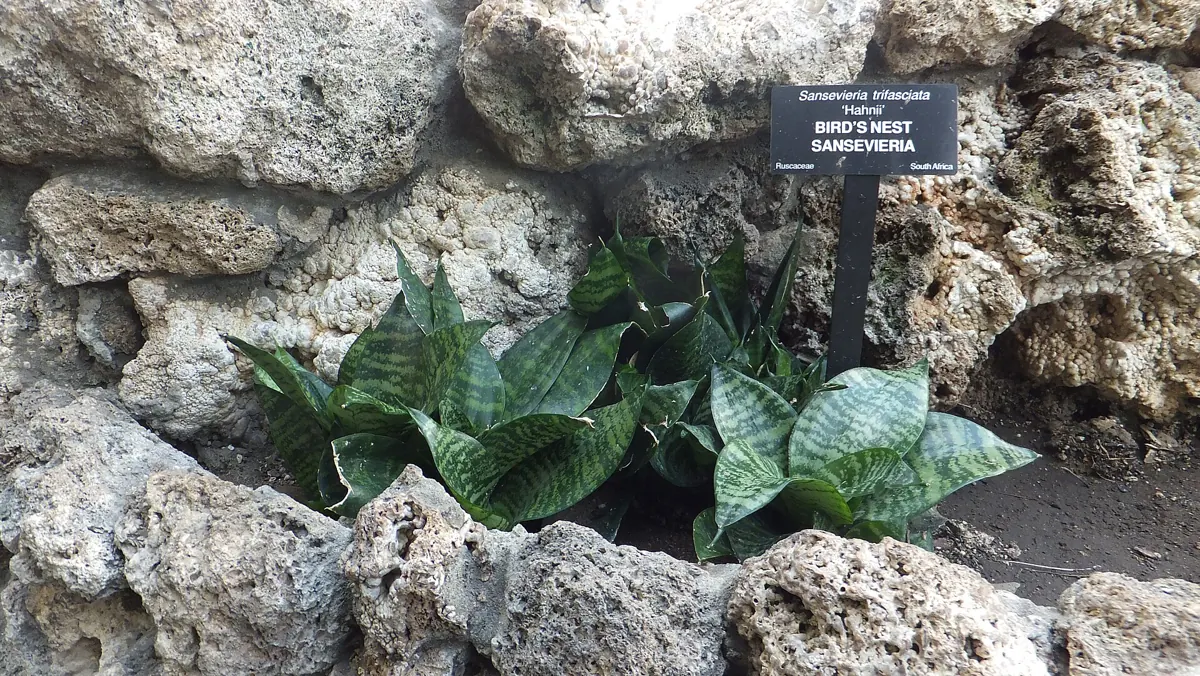
Method 1: Division (the fastest)
If your snake plant has several rosettes crowded in one pot, you can split it into separate plants right away.
Unpot the plant
Water a day before. Then tip the pot on its side and ease the plant out. For a stuck plant, run a knife around the inside of the pot.
Find the natural splits
Brush away soil to see where separate rosettes connect. Each section needs its own leaves and some roots.
Cut through the rhizome
Use a clean, sharp knife to cut the thick underground stem between sections.
Let cuts dry, then pot up
Leave the pieces out for a day so the cuts seal. Pot each in cactus mix and wait about a week before watering.
Method 2: Rhizome cuttings
Snake plants spread by thick, white underground stems called rhizomes. You’ll often spot one pushing a new pup up near the edge of the pot. Cut the rhizome near the mother plant, keeping the pup and any roots attached, let the cut dry for a day, and pot it up in cactus mix. A rhizome piece with no pup yet can also be planted just under the soil surface; it will usually send up a shoot within a few weeks.
Method 3: Leaf cuttings in water
Cut a healthy leaf
Choose a firm, healthy leaf and cut it off near the soil with a clean knife.
Slice it into sections (optional)
You can root the whole leaf, or cut it into pieces 3 to 4 inches long. Mark the bottom of each piece with a small V-notch or a pen, because upside-down pieces won’t root.
Let the cuts callus
Leave the cuttings out for 1 to 2 days until the cut ends look dry and sealed. This helps prevent rot.
Stand them in water
Put the bottom end in about an inch of room-temperature water. Only the bottom should be wet.
Change the water weekly
Keep the jar in bright, indirect light and change the water every week. Roots appear in about 4 to 8 weeks.
Move to soil
When roots are 1 to 2 inches long, pot the cutting in cactus mix. Keep the soil very lightly moist for a few weeks while the roots adjust.
Method 4: Leaf cuttings in soil
This skips the water step. Callus the cuttings for 1 to 2 days as above, then push the bottom end about an inch into barely moist cactus mix, several to a pot if you like. Water only lightly when the soil dries out. Don’t tug to check for roots; after 6 to 8 weeks, gentle resistance means roots have formed. Tiny pups usually pop up from the soil a few months later.
What to expect, week by week
| Time | What’s happening |
|---|---|
| Week 1 | Cut ends seal. Nothing visible yet. |
| Weeks 3–8 | Small white roots appear at the bottom of leaf cuttings. |
| Months 2–4 | Roots thicken; a small rhizome may form. |
| Months 3–6+ | The first pup pokes up. The original leaf cutting won’t grow taller, but it feeds the new plant. |
Troubleshooting
| Problem | Likely cause | Fix |
|---|---|---|
| Cutting turns mushy | Rot from too much water or no callus | Cut above the rot, callus again, restart |
| No roots after 2 months | Cold, low light, or planted upside down | Move somewhere warm and bright; check the direction |
| Water turns cloudy or smelly | Bacteria | Rinse the cutting and change the water |
| Roots but no pups | Normal; pups are slow | Keep waiting; give more light and warmth |
| Pups came up plain green | Leaf cuttings lose variegation | Use division to keep yellow edges |
Once your new plants are growing, look after them just like the parent. Our full snake plant care guide covers light, watering and soil through the year.
Snake plant propagation FAQs
Can you propagate a snake plant from one leaf?
Yes. Root the whole leaf or cut it into 3 to 4 inch sections, let them callus, then root them in water or soil. Each section can grow a new plant.
How long does it take to propagate a snake plant in water?
Roots usually appear in 4 to 8 weeks. New pups can take several more months.
Is it better to propagate snake plants in water or soil?
Both work. Water lets you watch roots grow; soil makes stronger roots and skips transplanting. Division is fastest of all.
Why did my snake plant cutting rot?
Usually too much water or skipping the callus step. Cut off the rotten part, let it dry for a day or two, and try again.
Will my variegated snake plant cutting stay variegated?
Usually not from leaf cuttings. Use division or rhizome cuttings to keep the yellow edges.
Sources and further reading
- North Carolina State Extension, Dracaena trifasciata plant profile
- Wikipedia, Dracaena trifasciata
More snake plant guides
Snake plant
Upright, drought-tolerant and almost indestructible, as long as the soil dries out.
Snake plant benefits
Air purifying, oxygen at night, feng shui: an honest look at what a snake plant can do.
ZZ plant
The low-light, low-water plant for beginners, and the one mistake that kills it.
More from Gardening How-To
-
Plant Identification: How to Identify Any Plant
How to identify a plant: the best free plant ID apps, the clues to check (leaves, flowers, stems), free expert help, and safety tips for unknown plants. -
How to Plant Succulents (Without Rotting Them)
How to plant succulents: the right soil and pot, step-by-step planting, the soak-and-dry watering method, light, easy beginner types and pet safety. -
How to Grow Basil for a Big, Bushy Harvest
How to grow basil from seed or a store-bought plant: warmth and sun, watering, the pinching trick for bushy plants, harvesting and fixing problems. -
How to Plant Lavender So It Actually Survives
How to plant lavender: choosing English, French or lavandin types, when to plant, soil and drainage, spacing, growing in pots, watering and pruning. -
How to Plant Garlic in Fall for a Big Summer Harvest
How to plant garlic: when to plant in your zone, hardneck vs softneck, how deep to set the cloves, mulching, watering, scapes and when to harvest. -
How to Plant Tulip Bulbs: When and How Deep
How to plant tulip bulbs in fall: the best time for your USDA zone, how deep and far apart to plant, pots vs beds, and how to get tulips to come back.