
 By
By Homemade Toners for Oily Skin
Tired of That Midday Shine?
If your skin looks greasy just a few hours after washing your face, you know the struggle. Oily skin can feel like a never-ending battle — and store-bought toners are not always kind to your wallet or your skin.
The good news is that you can make effective toners right at home using ingredients you probably already have. These homemade toners for oily skin are simple, affordable, and free from harsh chemicals that sometimes do more harm than good.
Let’s walk through a few popular options that many people swear by.
What Does a Toner Actually Do?
Before jumping into the recipes, it helps to understand why toners matter — especially for oily skin.
A toner is applied after cleansing and before moisturizing. For oily skin types, a good toner may help:
- Remove leftover dirt or cleanser residue.
- Tighten the appearance of pores.
- Balance the skin’s natural pH level.
- Reduce excess sebum throughout the day.
Homemade versions often use natural astringents and soothing ingredients that can be gentler than alcohol-based commercial toners.
3 Simple Homemade Toner Recipes for Oily Skin
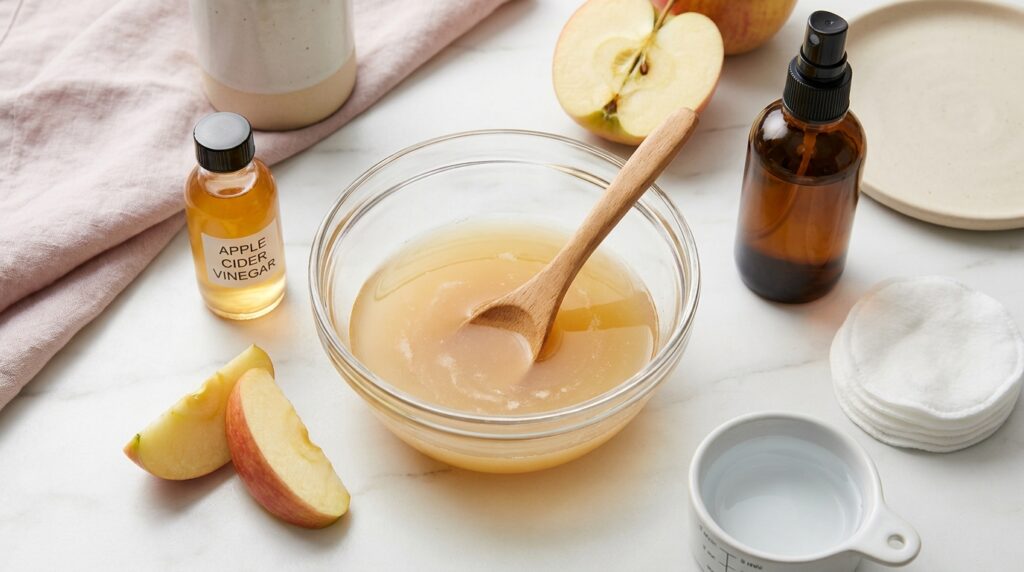
1. Apple Cider Vinegar Toner
This is probably the most popular DIY toner out there — and for good reason. Apple cider vinegar has natural astringent properties and may help balance your skin’s pH.
How to make it:
- Mix 1 part apple cider vinegar with 3 parts water.
- Pour into a clean bottle or jar.
- Apply with a cotton pad after cleansing.
Important: Always dilute it properly. Using it undiluted can irritate your skin.
2. Green Tea Toner
Green tea is packed with antioxidants and has been a popular skincare ingredient for years. Many people with oily skin find it helpful for reducing shine and soothing irritated skin.
How to make it:
- Brew a strong cup of green tea and let it cool completely.
- Pour into a spray bottle or use a cotton pad to apply.
- Store in the refrigerator and use within 5–7 days.
It feels refreshing, especially on hot days, and the cool temperature may help minimize the appearance of pores.
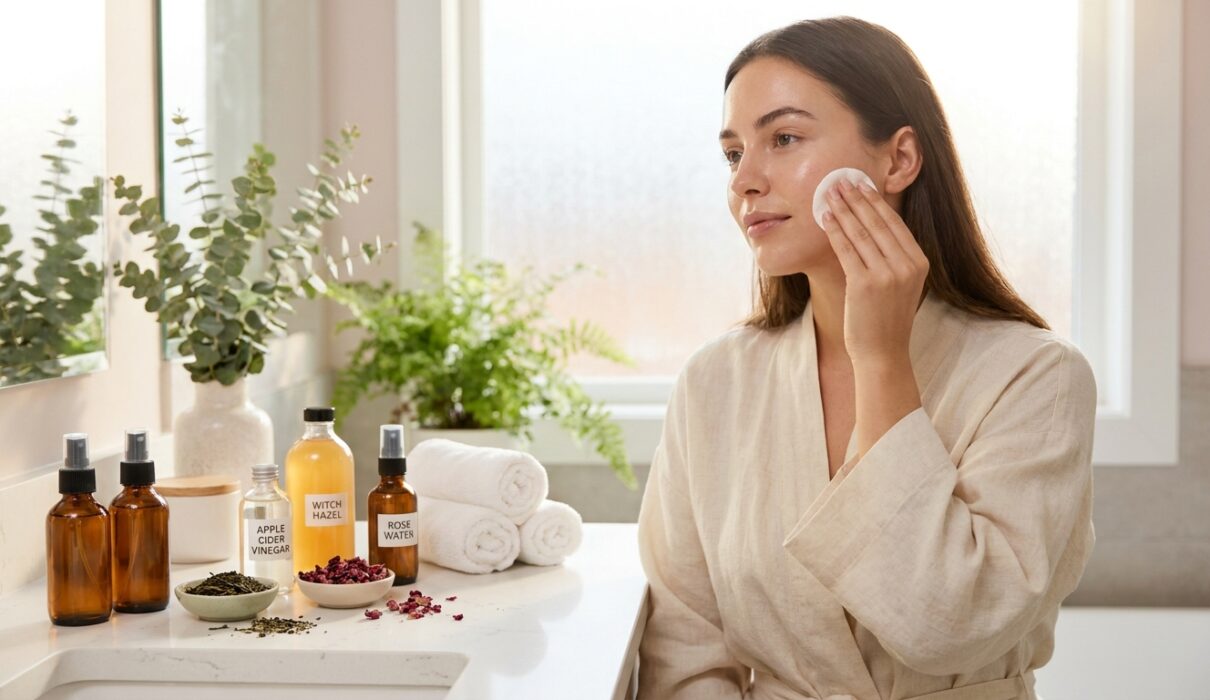
3. Witch Hazel and Rose Water Toner
This combination is a fan favorite in the natural skincare community. Witch hazel works as a gentle astringent, while rose water helps calm and hydrate the skin at the same time.
How to make it:
- Mix equal parts witch hazel and rose water.
- Add 2–3 drops of tea tree oil (optional, for added benefits)
- Apply gently with a cotton pad.
This blend may work well for people who want oil control without over-drying their skin.
Tips for Using Homemade Toners
Getting the recipe right is just part of the process. Here are a few extra tips to keep in mind:
- Do a patch test first — apply a small amount on your wrist before using it on your face.
- Use clean containers — bacteria can grow quickly in homemade products.
- Store in the fridge — most natural toners last longer when kept cool.
- Apply once or twice daily — morning and night works well for most skin types.
- Follow with a moisturizer — even oily skin needs hydration after toning.

FAQs
Q1: How long do homemade toners last? Most homemade toners last about one to two weeks when stored in the refrigerator. Since they contain no preservatives, it is best to make small batches and use them fresh.
Q2: Can homemade toners make oily skin worse? If used incorrectly — like applying undiluted apple cider vinegar — they can irritate the skin and potentially trigger more oil production. Always follow the recommended ratios and do a patch test first.
Q3: Is witch hazel safe for daily use on oily skin? Witch hazel is generally considered safe for daily use in small amounts. However, some formulas contain alcohol, which can be drying over time. Look for alcohol-free witch hazel when possible.
A Simple Routine Worth Trying
You do not need a cabinet full of expensive products to take care of oily skin. These homemade toners are a great starting point — they are easy to make, budget-friendly, and use ingredients that are generally well-tolerated by most skin types.
Give one or two of these recipes a try, stay consistent, and see how your skin responds over a few weeks. Sometimes the simplest routines make the biggest difference.